
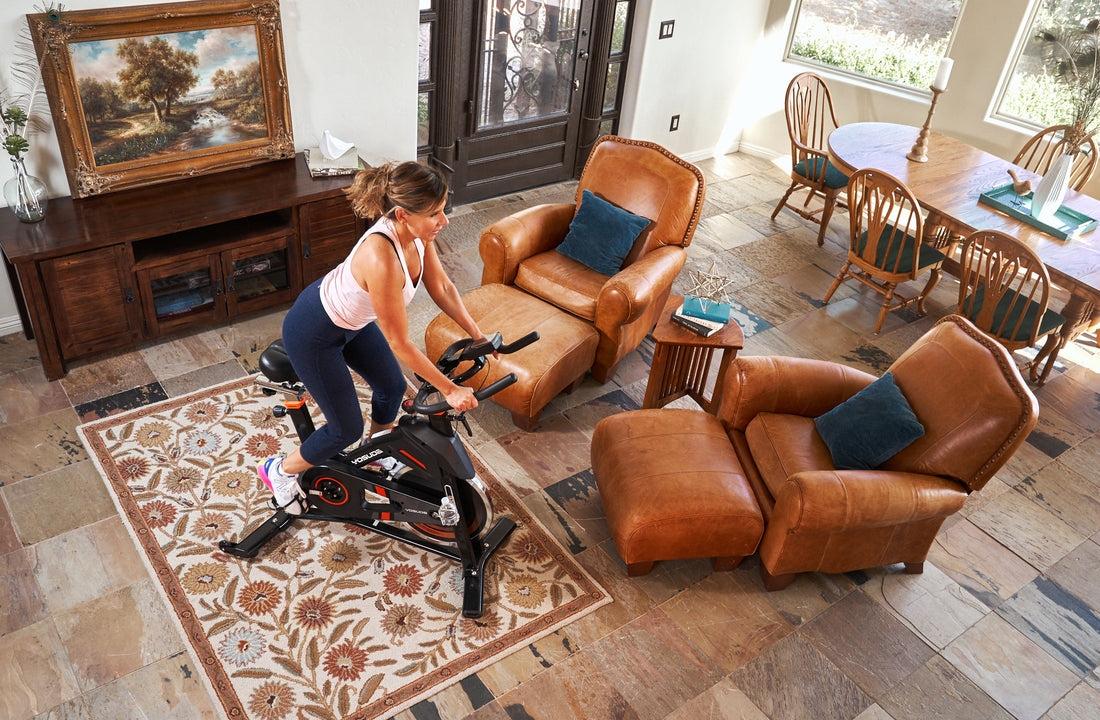
Yosuda bikes come pre-assembled. That is, the cranks, belt, brake pad, brake knob and flywheel are already installed on the frame.
So all you need to add is the seat, handlebar, pedals, monitor, and the stabilizers. The Yosuda magnetic under desk cycling bikes are even simpler, requiring only pedals, stabilizers, and monitor to be installed.
Install the Stabilizers
1. Attach the rear stabilizer and the front stabilizer to the frame.
2. Pass the carriage bolts (reverse) through the holes in stabilizers, then place the flat washer and tighten the cap nut with a Allen Wrench.

Install the Pedals
1. Turn the brake knob clockwise as tightly as you can with your hand.
2. Align the left pedal with the left crank at 90°.
3. Turn the pedal bolt on the left pedal counter-clockwise as tightly as you can with your hand. Then use Allen Wrench to tighten and secure.
The right side pedal is installed similarly. The difference is that the right side pedal needs to be tightened in a clockwise direction.
(NOTE: All pedals and cranks have the the “L” or “R” mark. The direction in which the pedal is tightened is also marked on the crank. Do not mistake the direction when installing, or it will damage the threads)

Install the Handlebar
Bike model: YOSUDA Indoor Stationary Cycling Bike YB001.
Installation:
1. Unscrew the adjustment pull pin counter-clockwise until the handlebar post could be inserted.
2. Adjust the handlebar post height to a suitable location, then screw the pin and plum blossom screw clockwise to reinforce the handlebar post stability.
3. Secure the handlebar to handlebar post by using inner Allen screws and spring washers. Tighten and secure with inner Allen spanner is fine.
Bike model: YOSUDA Indoor Stationary Cycling Bike YB007A.
Installation:
1. Unscrew the “L” Knob counter-clockwise and insert the handlebar post.
2. Then adjust the handlebar post to a suitable location and tighten the “L” Knob.
(NOTE: There is no hole in the handlebar post. It is intentional design, not defect.)
3. Same as step 3 of YB001 installation.

Install the Monitor
Bike model: YOSUDA Magnetic Under Desk Cycling Bike YBM-1.
Installation: Take out the monitor installed on the machine, and put the battery into the monitor. Then check whether the induction line is connected with the monitor, and insert the monitor into the machine after checking nothing is wrong.
Bike model: YOSUDA Indoor Stationary Cycling Bike YB001 & YB007A.
Installation: Insert the monitor in the handlebar, adjust the monitor view angle well. Then just plug the sensing cable left from the frame into the speed hole of the monitor. (NOTE: There are two ends of the sensing cable. One is on the monitor and the other one is near the left crank.)

Install the Seat
Bike model: YOSUDA Indoor Stationary Cycling Bike YB001 & YB007A.
Installation:
1. Insert the seat post into the frame and adjust the seat height to the location you prefer, then release the pin into the notch hole and tighten it.
2. Adjust the seat slider to the desired position, insert and tighten the plum blossom knob to secure the slider in place.
3. Place the Seat on the seat slider. Use the Allen wrench clockwise to tighten the nuts on both sides of the seat.

Attention: After completing the installation of Yosuda exercise bike as the above steps, locking all bolts and recheck them, ensuring all bolts are firmly locked, then you can use the exercise bike ideally.